When getting the login credentials to access SpamBull, it's only assigned to one person. If…
How to Allowlist Recipient
Regardless of the message classification, incoming mail sent to recipients on the Recipient Allow list will always be allowed.
Be selective about who you grant access to the Allow list. Since ALL mail will be allowed to enter the recipient’s mailbox unfiltered, this is often not meant for regular mail recipients. This is mostly used for addresses like abuse@ or Postmaster@ or any address that shouldn’t be filtered (like one used to send abuse reports to).
On this page you can:
- Add recipient to Allow list – At the Admin level, you can add a recipient to the Allow list for all domains assigned to the selected Admin. See Add recipient to Allow list.
Note: If you want to accept specific recipients at a particular domain you can turn off filtering for individual mailboxes.
- Import recipients from CSV – Import a list of recipients to add to the Allow list via CSV file.
- Export recipients as CSV – Export the list of recipients to a CSV file.
Add recipient to Allow list
In order to add recipient to Allow list, you need to be an Admin.
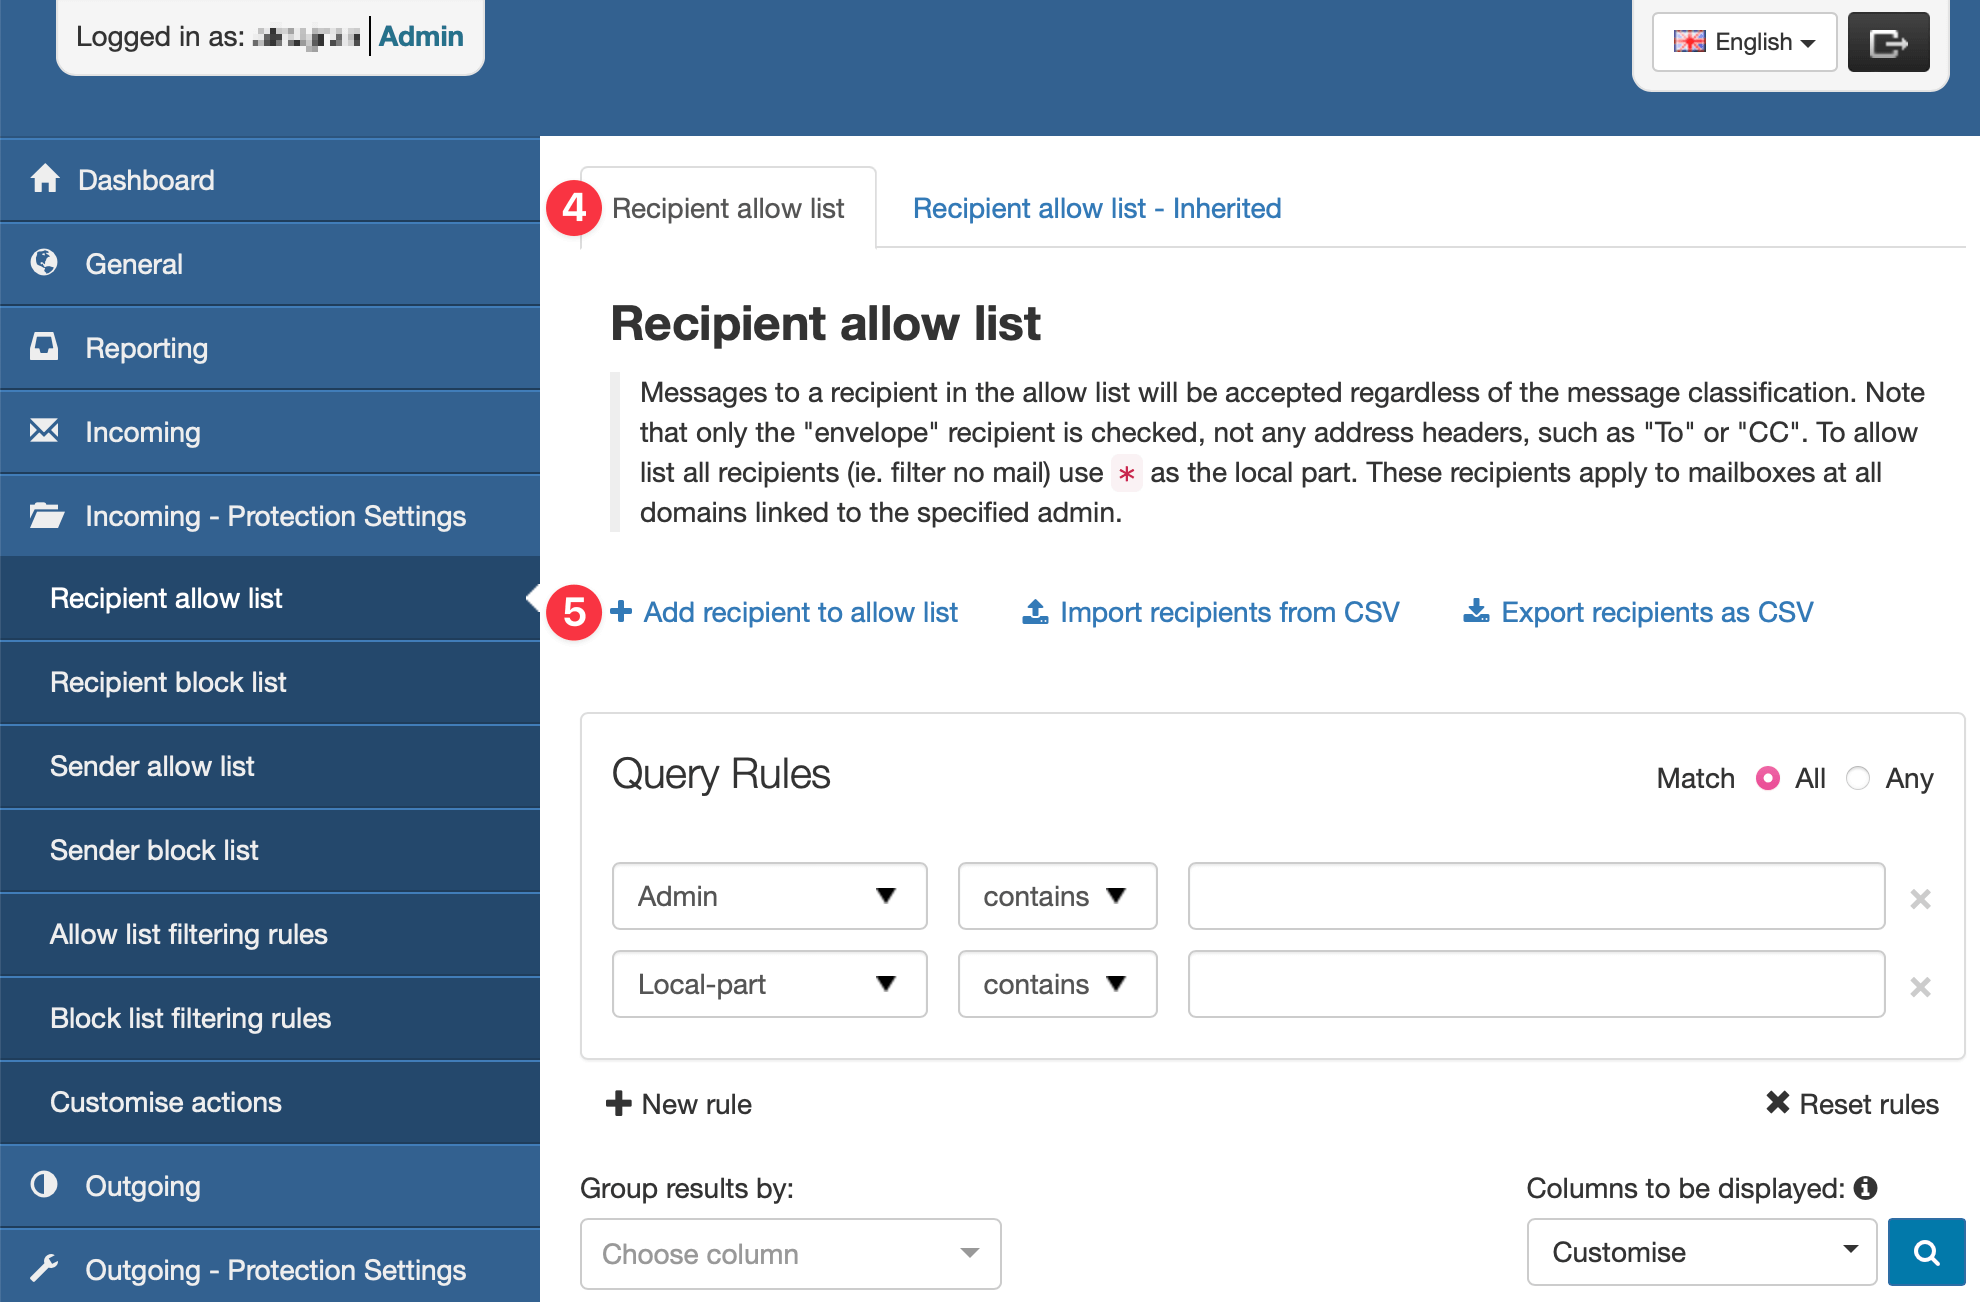
- Log in to the SpamBull admin center.
- In the left menu, expand the tab Incoming – Protection Settings.
- Click on Recipient Allow list.

- Make sure you select the Recipient allow list tab.
- Click on Add recipient to Allow list to open the dialog.
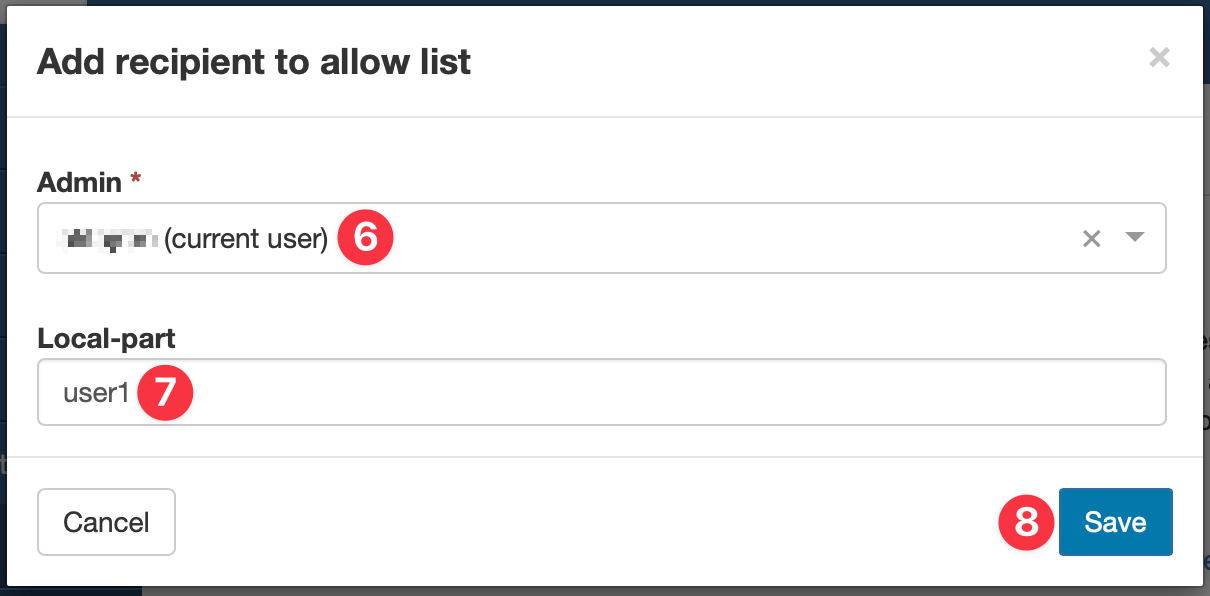
- Select the Admin user from the dropdown menu. The current Admin user is selected automatically.
- Enter the local-part of the recipient’s email address.
To allow all mail to the user1@domain.com, enter user1 in the Local-part field. To allow all recipients enter * in the Local-part field.
- Click Save.
In this example, user1@mydomain.com will always be allowed as a recipient for all domains of this Admin user.
Edit Allowed Recipient
- Click the arrow to the left of the domain to open the action menu for the allowed recipient.
- Select the Edit to change any of the fields configured during adding.
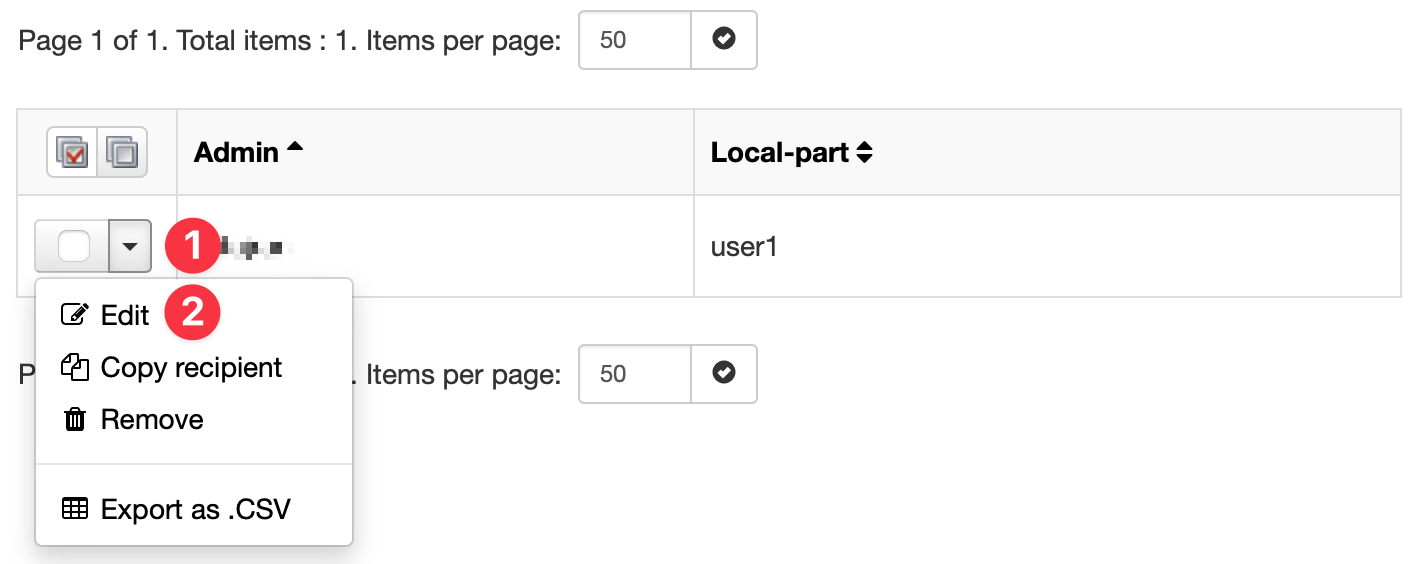
If you Copy Recipient, this will take you to add a new entry with the recipient address pre-filled from the existing entry.
- When done editing, click on Save to save the edit of the recipient.
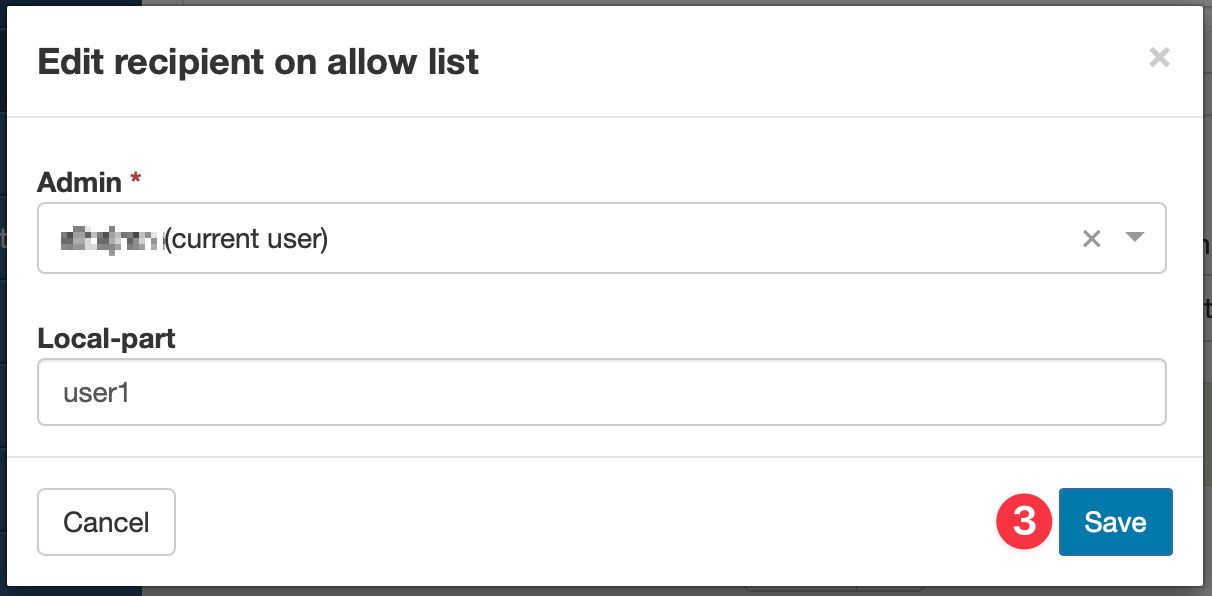
When done correctly, the message “Recipient was successfully updated.” appears.

Remove Allowed Recipient
- Click the arrow to the left of the Admin user to open the action menu for the allowed recipient.
- Click the Remove button.

- Confirm removal of the allowed recipient by clicking the Remove button.
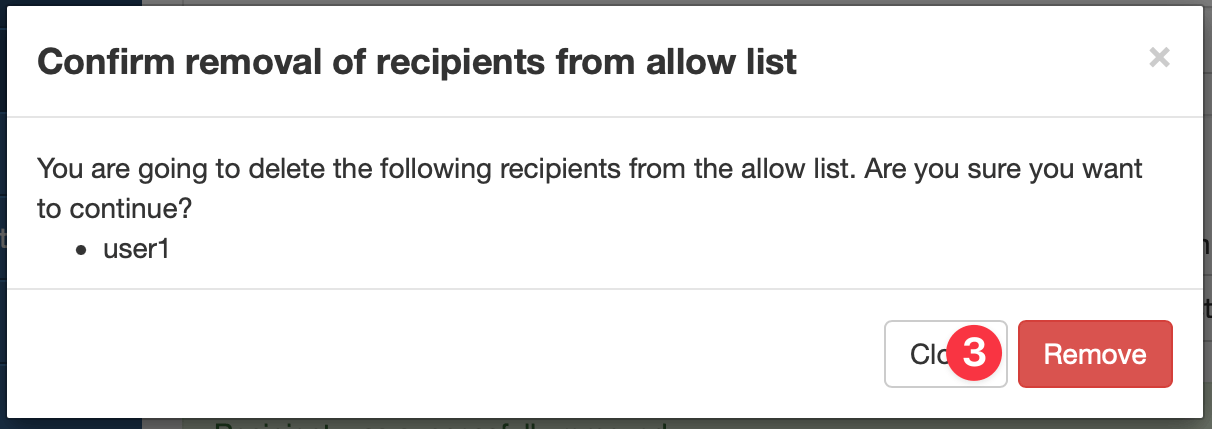
When done correctly, the message “Recipient was successfully removed.” appears.

Related Posts