Instead of routing all outbound messages directly to the Internet, you should route your organization's…
How to create authenticating domain
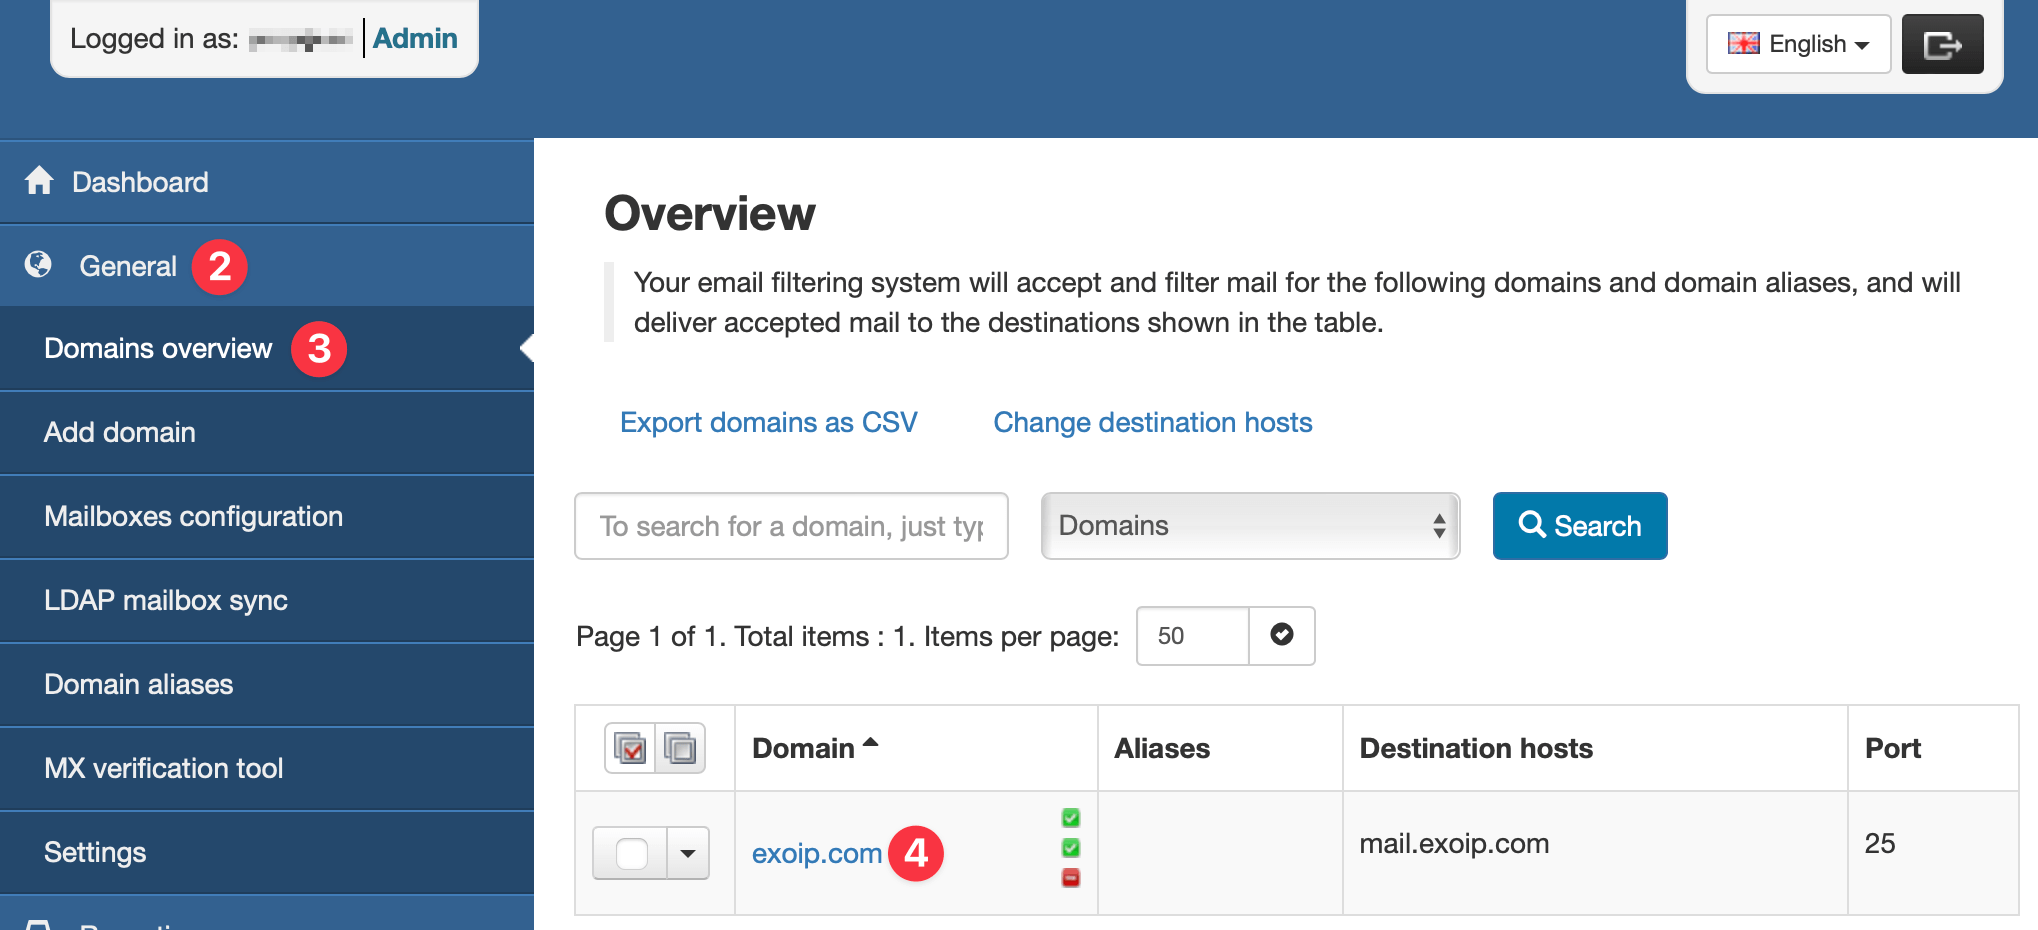
- Log in to the SpamBull admin center.
- In the left menu, expand the tab General.
- Navigate to the domain you added by clicking on Domains overview (see Add domain first, if you have not yet added the domain).
- Click on the domain you want to create authenticating domain for, to access the domain control panel.
- In the left menu, expand the tab Outgoing.
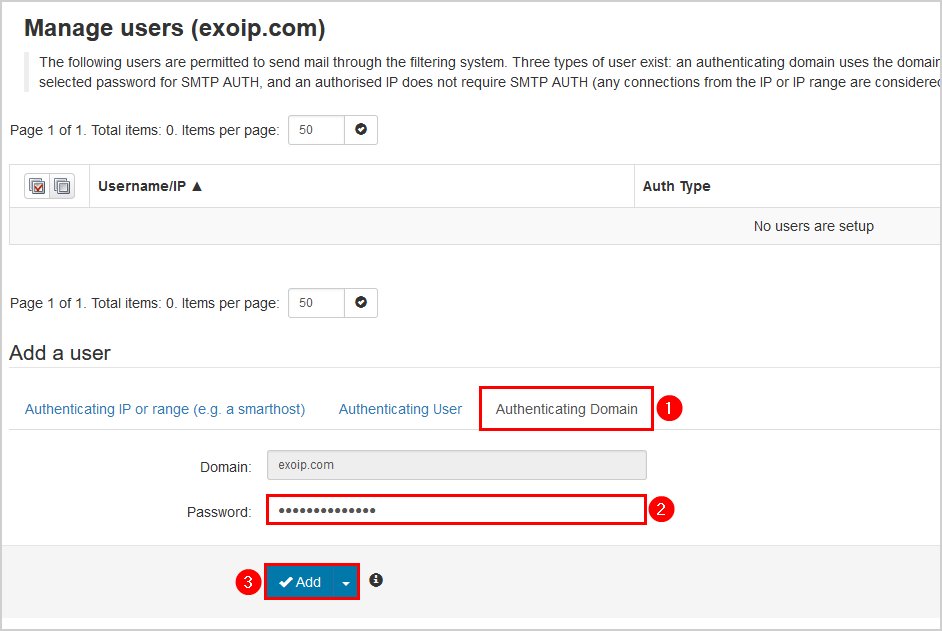
- Click on Manage users.
- Select the tab Authenticating Domain.
- Enter a secure password.
Note: The secure password is only required to complete the configuration process. Once set, it is no longer needed.
- Click on Add.
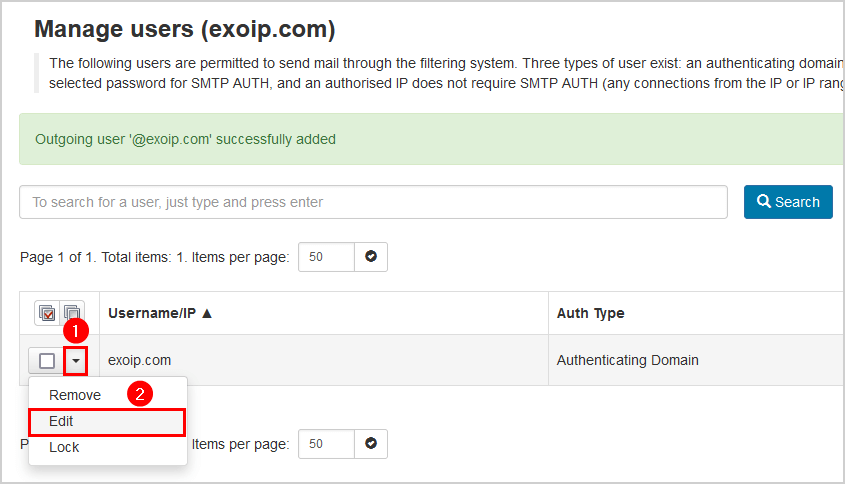
- Click on the dropdown symbol next to the domain.
- Click Edit.
- Uncheck Enable outgoing connection limits.
- Enable Re-Authentication permitted.
Note: This will allow authorized servers (such as Microsoft 365 or Google Workspace) to relay emails on behalf of this sending domain.
- Click Save.
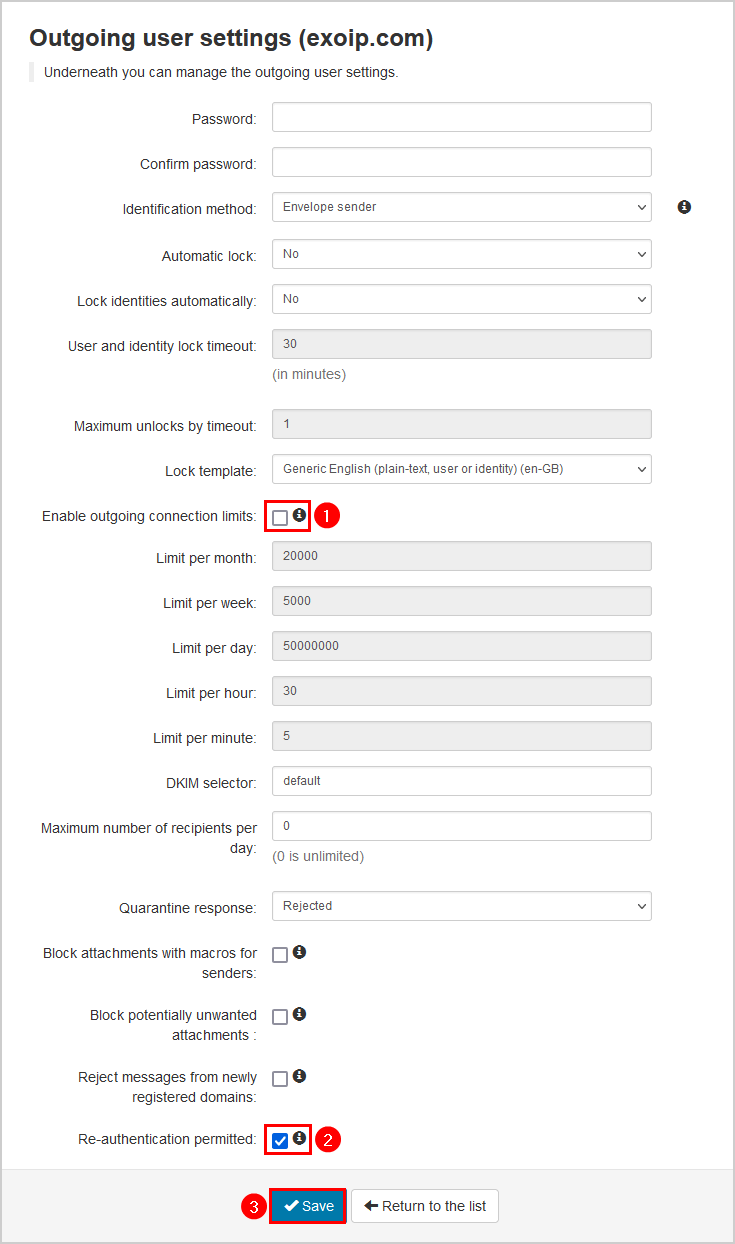
The authenticating domain is successfully created.
Related Posts